
Building your own PC is one of the most rewarding experiences for any tech enthusiast. Not only do you get a machine tailored to your exact needs, but you also gain valuable knowledge about how computers work. This comprehensive guide will walk you through every step of building your first PC in 2026.
Why Build Your Own PC?
Building a PC offers numerous advantages over buying a pre-built system. You get complete control over component selection, better value for money, and the satisfaction of creating something with your own hands. Additionally, you'll have the knowledge to upgrade and troubleshoot your system in the future.
Essential Components
Before you start building, you'll need to gather all the necessary components. Here's what you'll need:
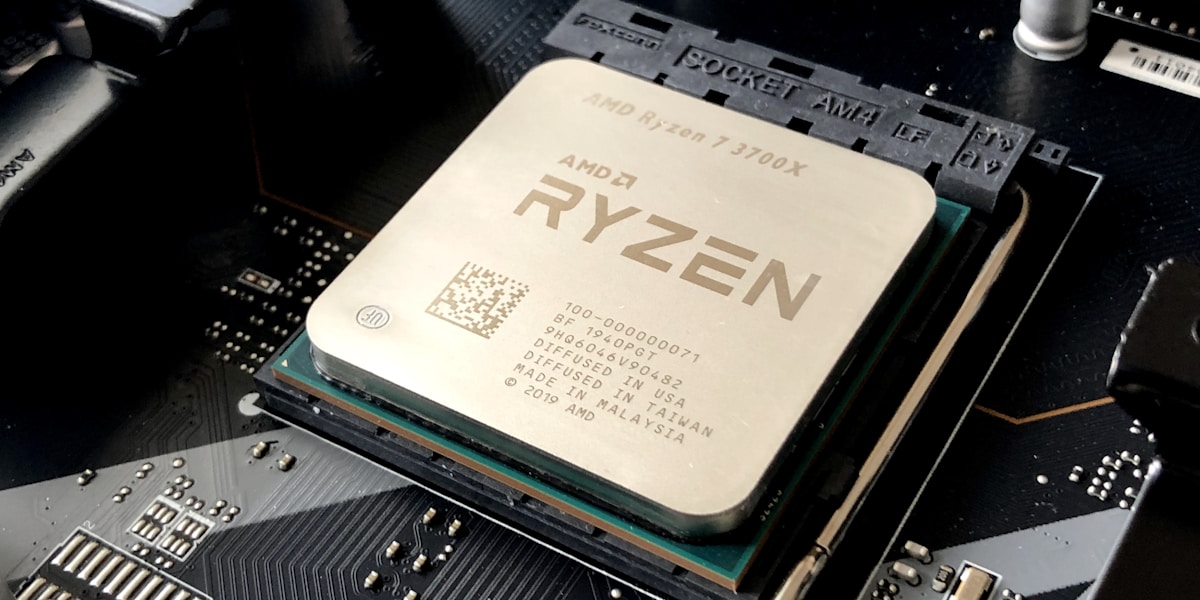
- CPU (Processor): The brain of your computer. Popular choices include Intel Core i5/i7 or AMD Ryzen 5/7 series.
- Motherboard: Ensure it's compatible with your CPU and has the features you need.
- RAM: 16GB is the sweet spot for most users, but 32GB is recommended for heavy multitasking.
- Storage: An NVMe SSD for your operating system and a larger HDD for storage.
- GPU (Graphics Card): Essential for gaming and creative work. Choose based on your budget and needs.
- Power Supply: Get a reliable unit with enough wattage and 80 Plus certification.
- Case: Choose one with good airflow and enough space for your components.
- CPU Cooler: Stock coolers work fine, but aftermarket coolers offer better performance.
Tools You'll Need
Gather these tools before starting your build:
- Phillips head screwdriver (magnetic tip preferred)
- Anti-static wrist strap
- Scissors or box cutter
- Flashlight or headlamp
- Thermal paste (if not pre-applied)
- Cable ties for management
Step-by-Step Assembly
Step 1: Prepare Your Workspace
Find a clean, well-lit area with plenty of space. Lay down your motherboard box as a work surface. Ground yourself using an anti-static wrist strap to prevent damaging sensitive components.
Step 2: Install the CPU
Lift the retention arm on the motherboard socket. Align the triangle on your CPU with the socket's triangle. Gently place the CPU in the socket without forcing it. Lower the retention arm to lock it in place.
Step 3: Install RAM
Open the RAM clips on the motherboard. Align the notch on your RAM stick with the slot's notch. Press down firmly until both clips click into place. For dual-channel, use slots 2 and 4 (or as recommended by your motherboard manual).
Step 4: Install M.2 SSD
Remove the M.2 heatsink if present. Insert the SSD at an angle and secure it with the provided screw. Replace the heatsink if applicable.
Step 5: Install CPU Cooler
Apply a pea-sized amount of thermal paste on the CPU. Mount the cooler according to the manufacturer's instructions. Connect the fan cable to the CPU_FAN header.
Step 6: Install Motherboard in Case
Install the I/O shield first. Place the motherboard standoffs in the correct positions. Carefully lower the motherboard into the case and secure it with screws.
Step 7: Install Power Supply
Mount the PSU in the case with the fan facing down (if bottom ventilated) or up. Secure with screws and don't connect cables yet.
Step 8: Install Graphics Card
Remove the appropriate PCIe slot covers. Open the PCIe slot latch. Insert the GPU firmly until it clicks. Secure with screws and connect PCIe power cables.
Step 9: Cable Management
Connect all necessary cables: 24-pin motherboard power, 8-pin CPU power, SATA data/power for drives, front panel connectors, and USB headers. Route cables neatly for good airflow.
First Boot and BIOS Setup
Connect your monitor, keyboard, and mouse. Press the power button and enter BIOS by pressing the designated key (usually DEL or F2). Check that all components are recognized, enable XMP for RAM, set boot priority, and save settings.
Installing Windows
Create a Windows installation USB drive using Microsoft's Media Creation Tool. Boot from the USB drive and follow the installation prompts. Install all necessary drivers from your motherboard manufacturer's website.
Troubleshooting Common Issues
No Power: Check all power connections and ensure the PSU switch is on.
No Display: Verify GPU power connections and monitor cable. Try reseating the RAM.
Overheating: Check CPU cooler installation and thermal paste application.
Conclusion
Building your first PC is an exciting journey that teaches you valuable skills. Take your time, follow this guide, and don't be afraid to consult your component manuals. Welcome to the PC building community!